Guess what I got for my Birthday? A Room Makeover!!
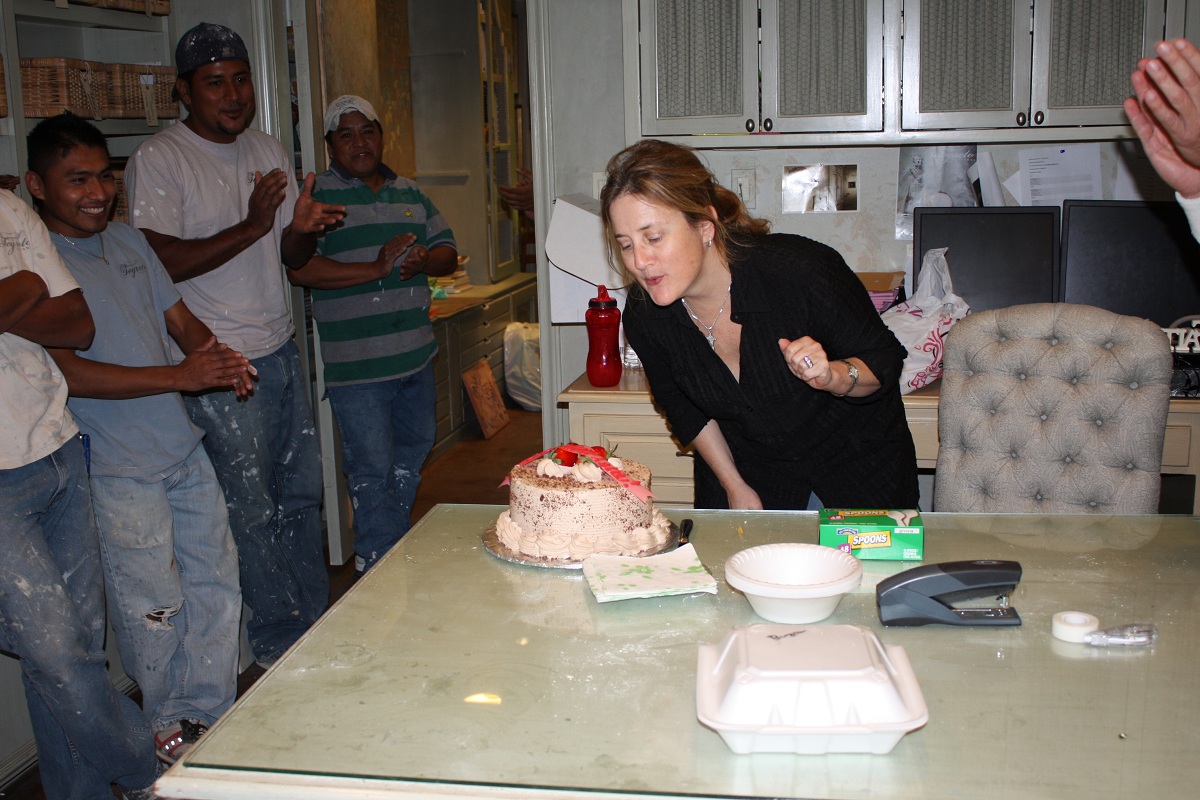
While working on my upcoming book, Segreto: Secrets to Finishing Beautiful Interiors—which it off to the printer–Yayyyy!!!– I was surrounded by images of all the incredibly beautiful homes that Segreto’s been a part of, and I wanted to give my own kitchen-den area a makeover!!! I had already picked out colors in case the team ever had a gap… so bright and early on my birthday morning my staff and husband organized a surprise.
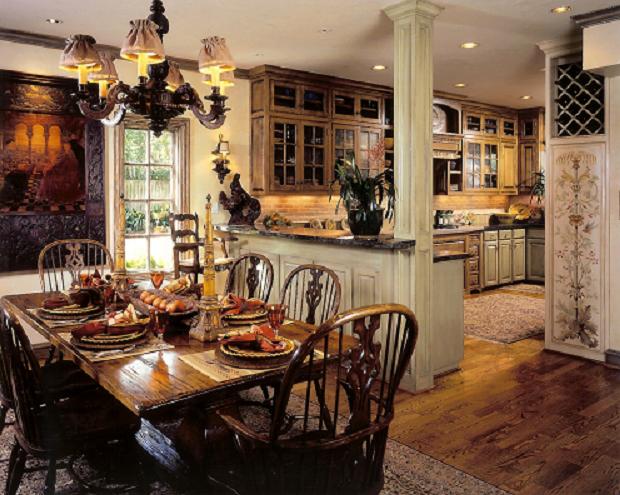
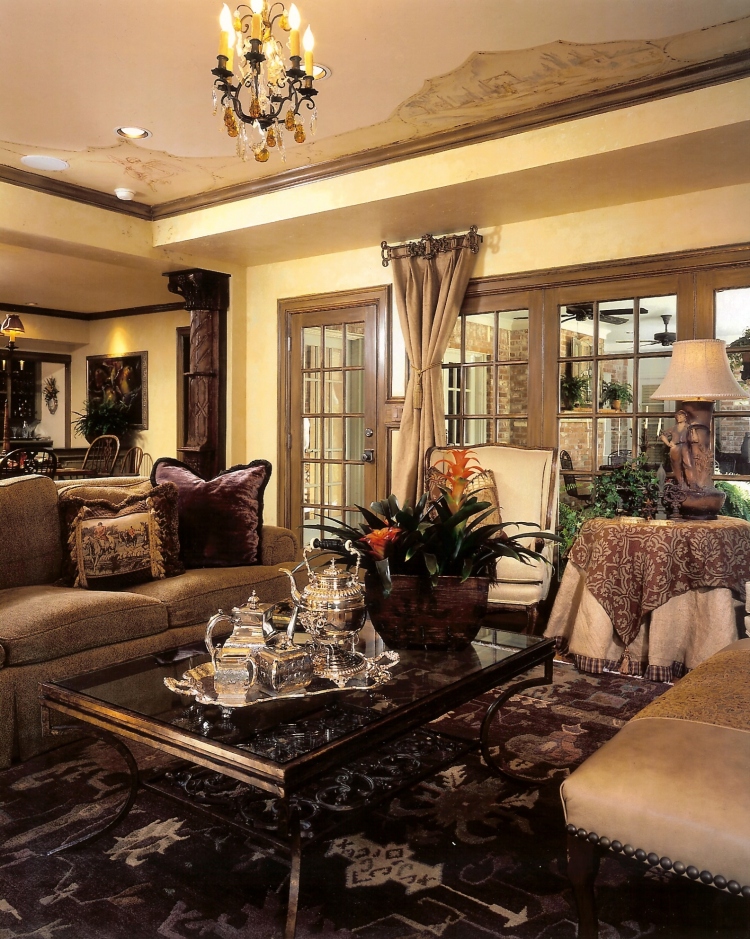
This was my kitchen area after completing the redo 10 years ago. A golden-toned sheetrock mud covered the walls, and a faux wood finish on the trim outlined the room. For the new look, I wanted to bring in a softer feel by fading the trim into the walls and using plaster as the primary product instead of sheetrock mud. While I loved the three different colors on the kitchen cabinets because they bring in a furniture feel, I decided to soften the colors.
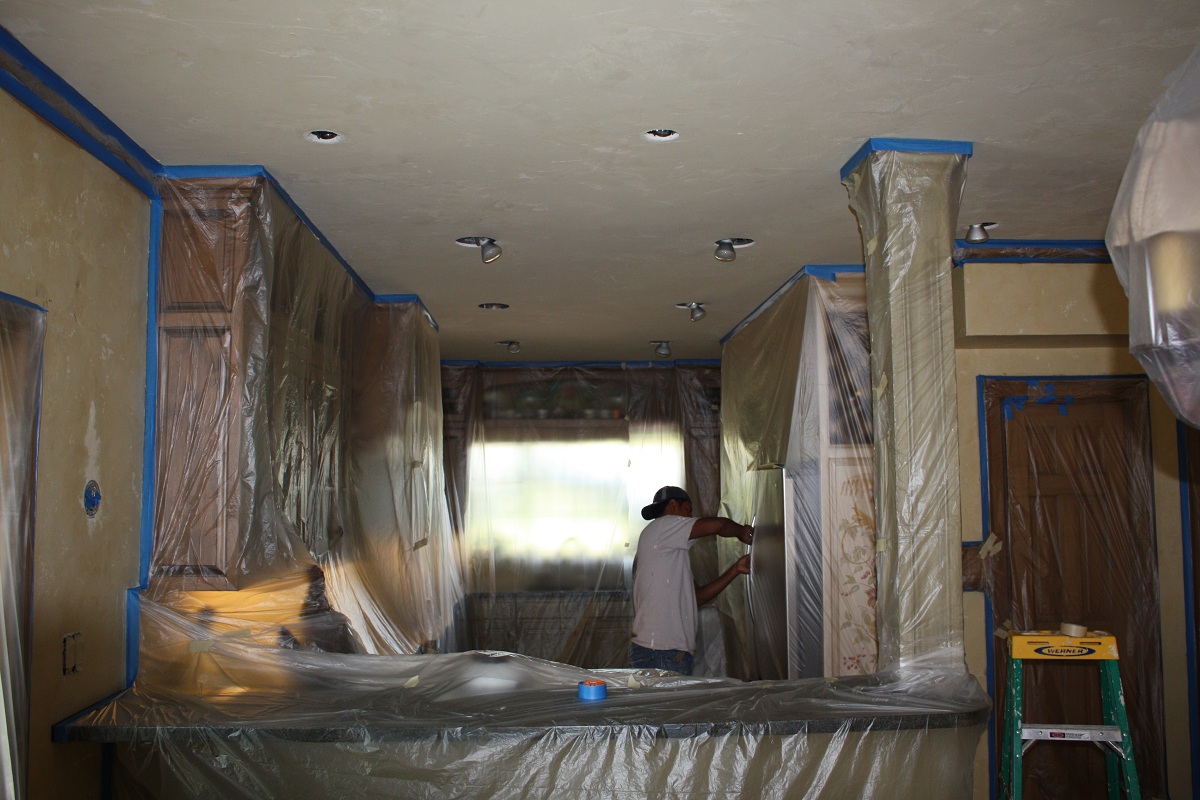
And the mess begins!! Whenever we plaster a home, we spend quite a bit of time taping off the trim and ensuring that all floors, furnishings and moldings are well protected.
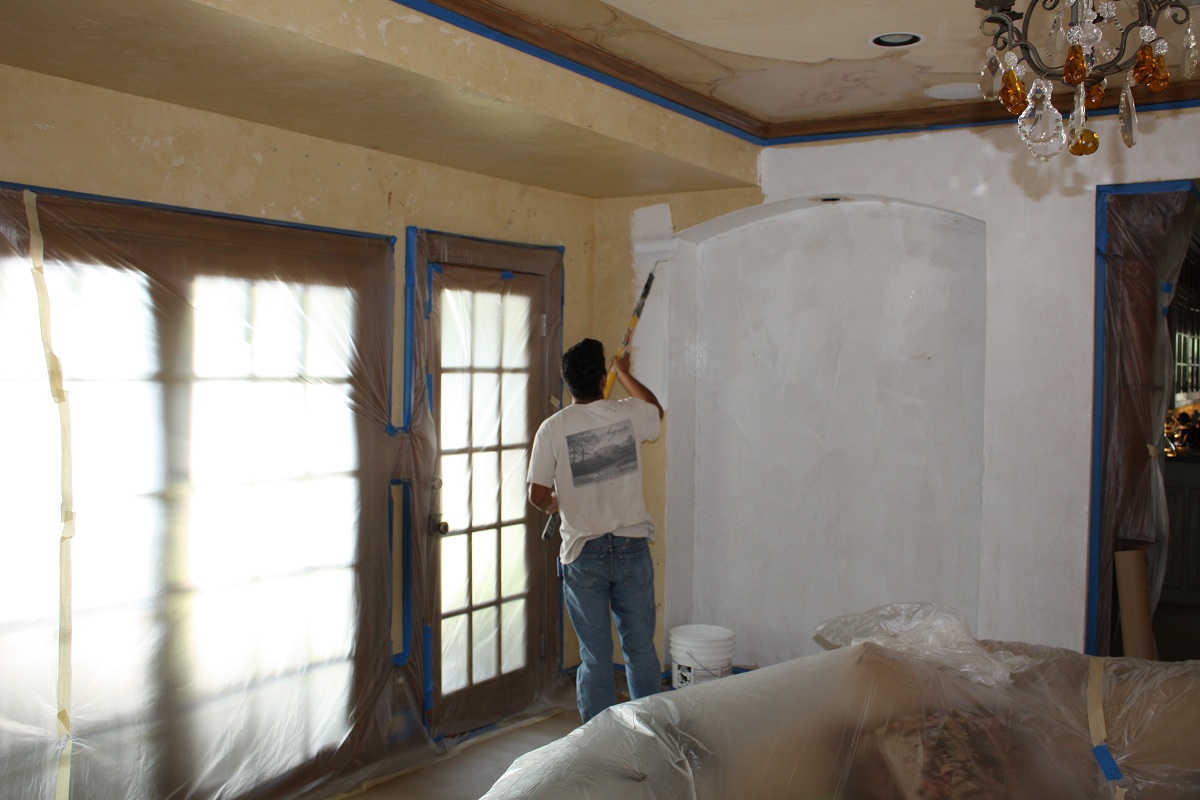
Here we go! The walls are primed and bonded first before the plaster is applied. In a new construction, plaster can go directly over the raw sheetrock, but in existing homes, primer must be applied over painted wall surfaces before plaster application can begin. Because my walls had texture from the sheetrock mud, I chose a textured plaster to avoid the extra work and cost of refloating the walls or applying two coats of plaster. Because the divots are recessed into the wall, textured plaster still gives you that smooth, cold feel and reflects the light. Sheetrock mud, on the other hand, is raised in texture, producing a rougher feel to the touch.
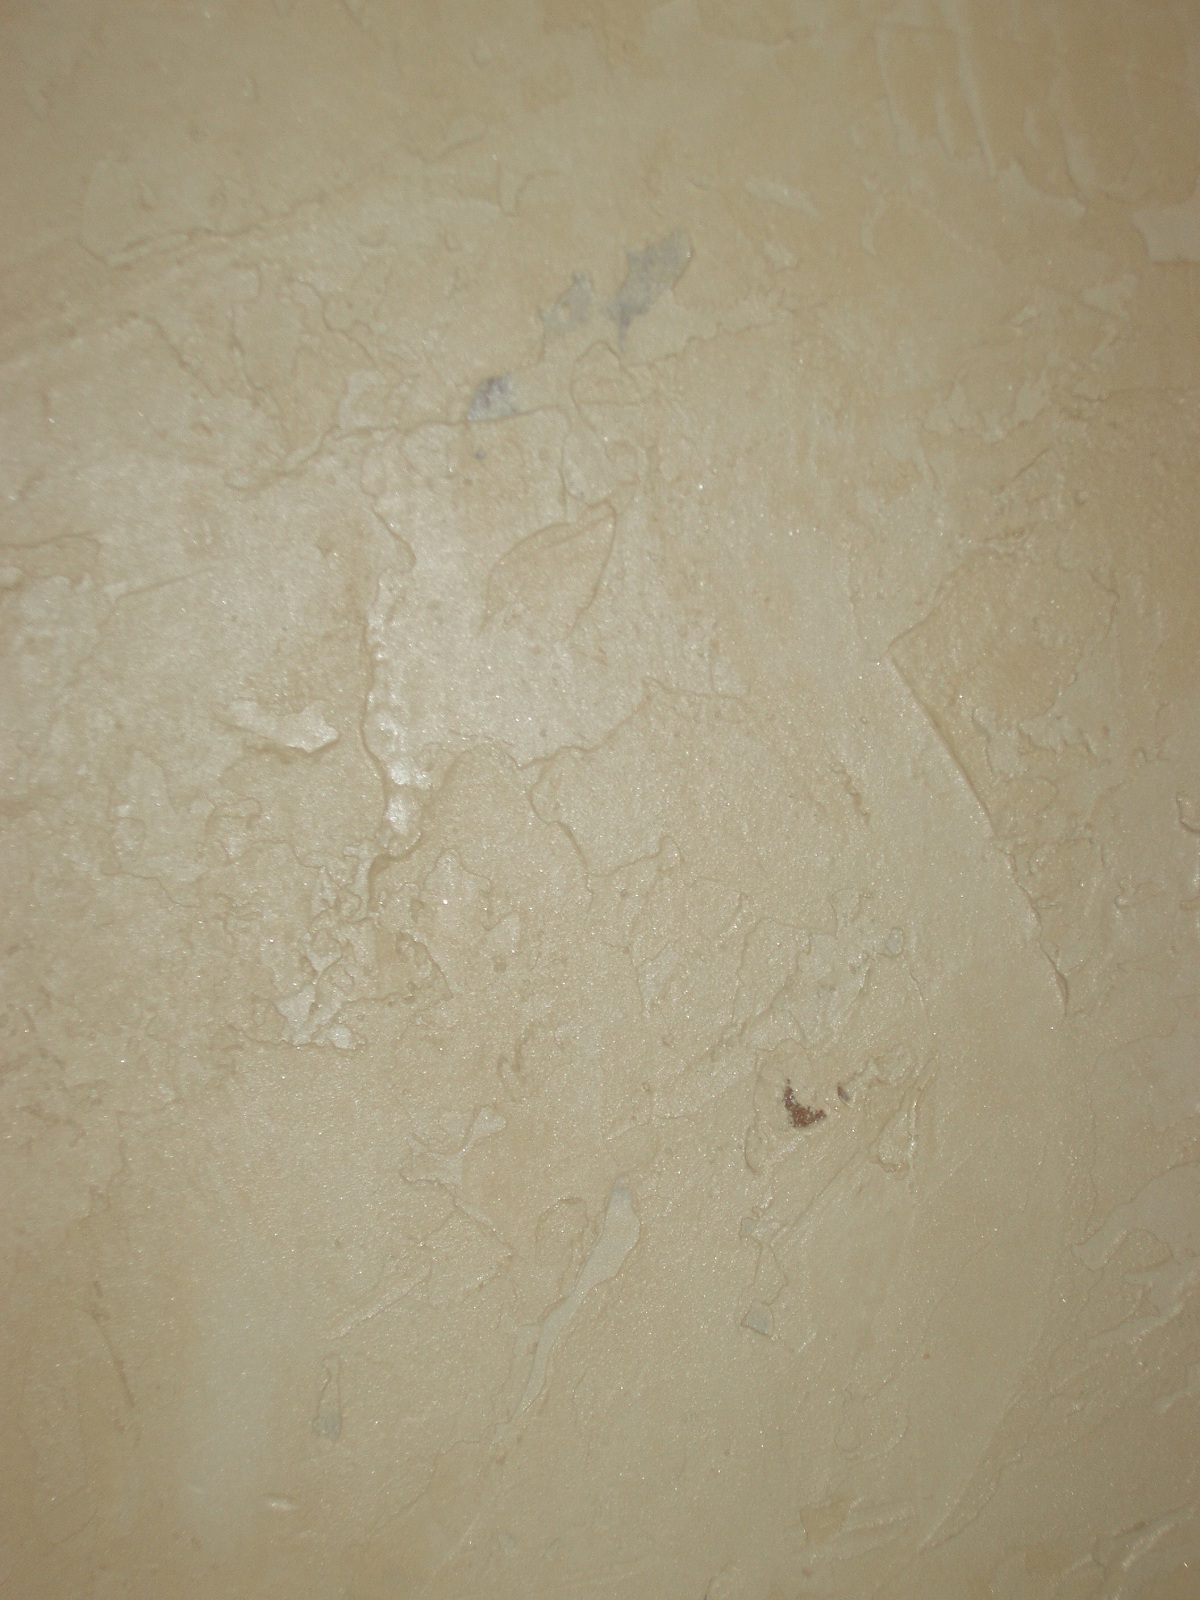
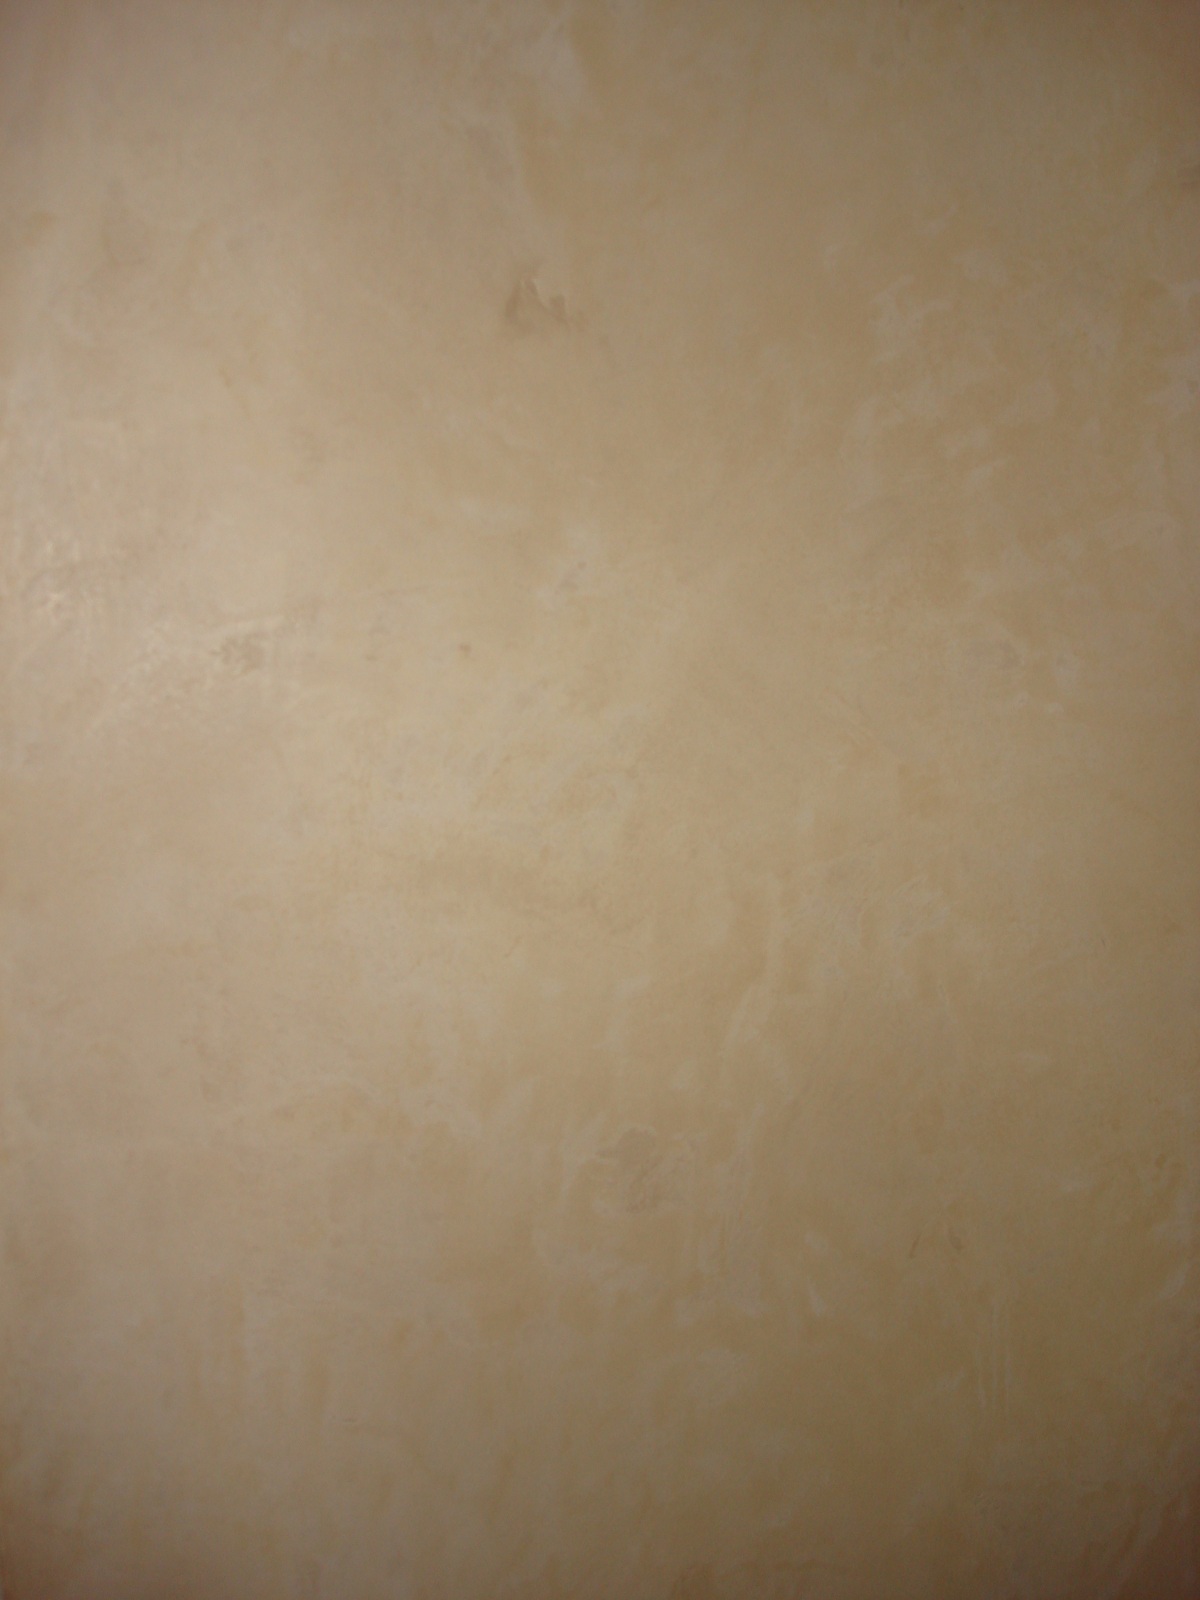
The left picture showcases a sheetrock mud finish, while the one to the right features a lightly textured plaster.
Since my late 60s home often feels boxy because all the rooms are square or rectangular, I had painted a design on the ceiling creating the illusion of an oval room.
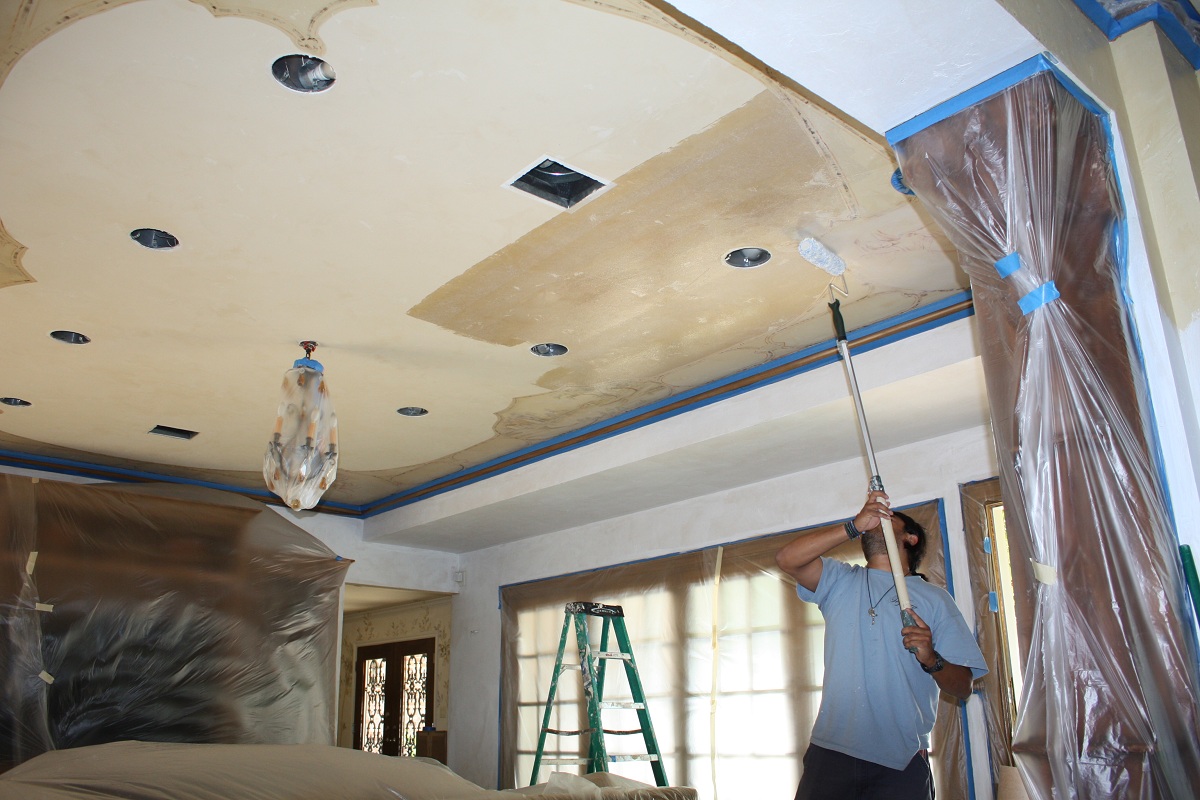
In this makeover, I wanted to maintain the oval effect the design created, but both fade the design and lighten the ceiling color to match the new plastered walls. By sealing the ceiling first to seal the surface, I could control the glaze applications better. then applying two layers of a lighter glaze softened the design and lightened the color. When all the fabrics are in I may add hints of their colors to the ceiling.
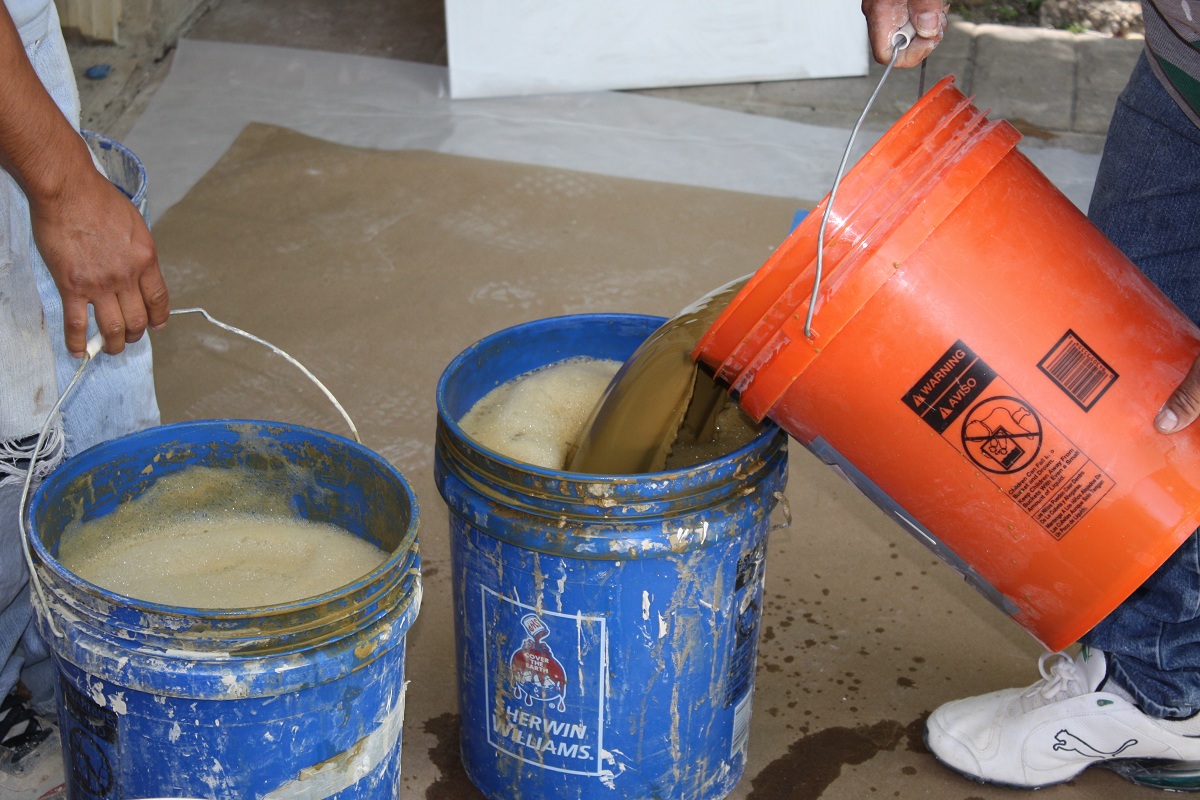
To maintain a consistent color from batch to batch, it’s important to carefully measure and mix the pigments into the plaster. I love that plaster provides an insulating factor, sound barrier and fire retardant. The product also holds up better and lasts longer than a painted finish. Practical and beautiful!!!
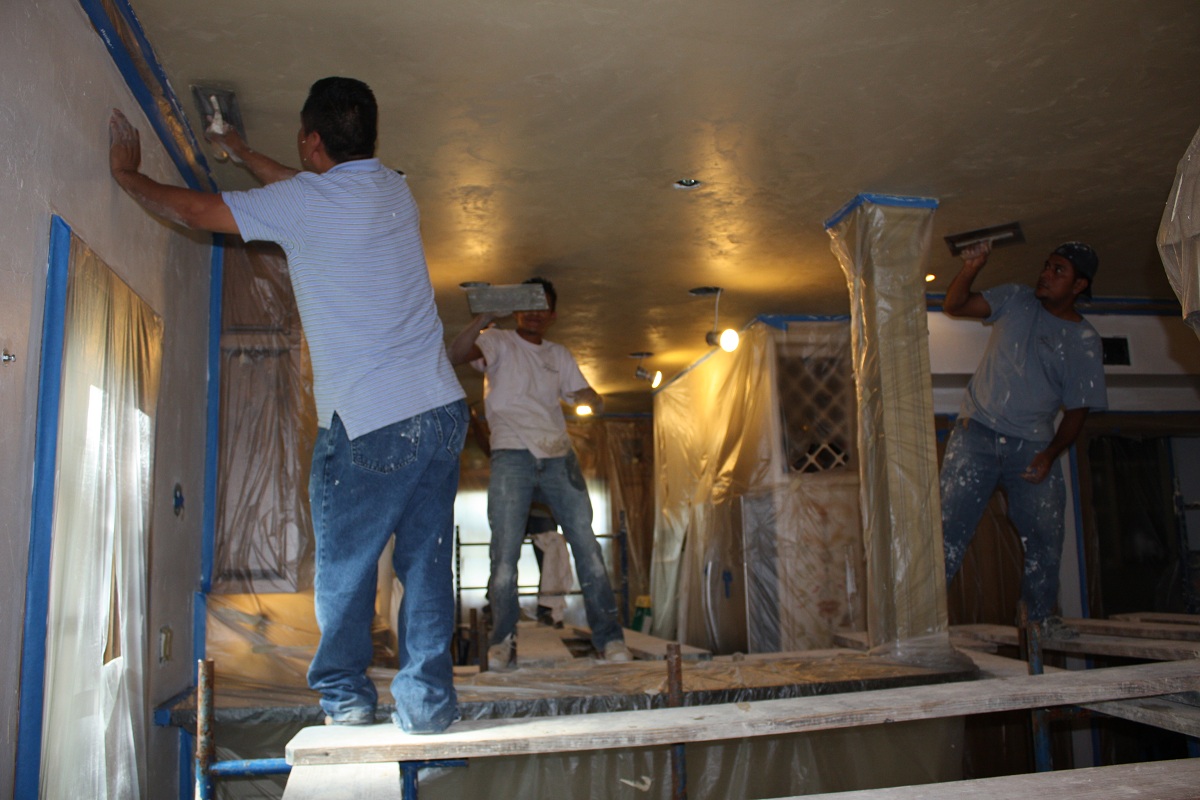
During the plastering process, full scaffolding has to be set up because the craftsmen need to work at shoulder level to the wall or ceiling in order to produce the proper pressure and create the most beautiful product. The plaster goes up 3-5 shades darker than the final color… I can’t tell you the number of calls I get late at night—Oh no, Leslie, the color doesn’t match the sample!! But once the plaster dries in 24-48 hours, it’s perfect.
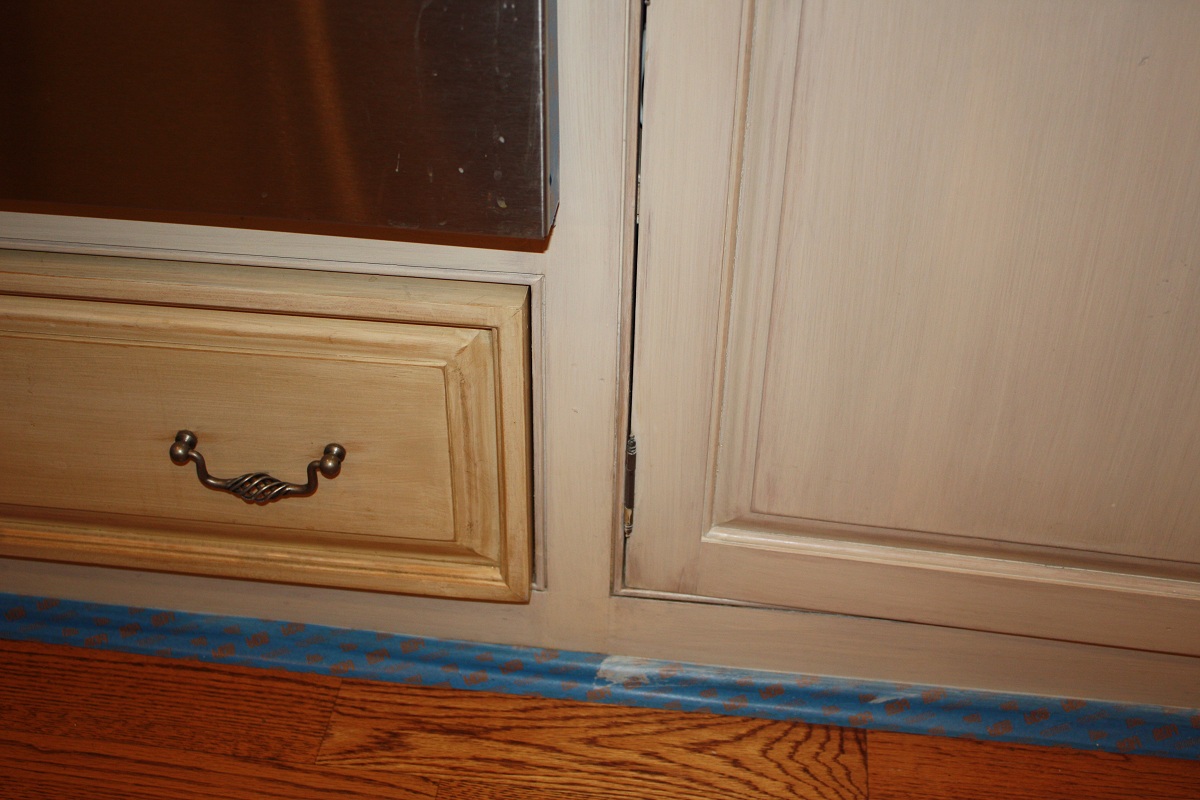
Next, we focused on the cabinets and trim. The side cabinets were formerly glazed to blend with the color of the previous walls. To save time, money and the hassle of repainting, I simply put a new glaze over the top to change the color without losing the distressing underneath. You will not believe the simple difference one glaze can make!!! I did end up changing the color of the green kitchen cabinets to SW Dorian Gray. This new color, detailed with an edging and dry brushing technique, was lovely while still being cost effective.
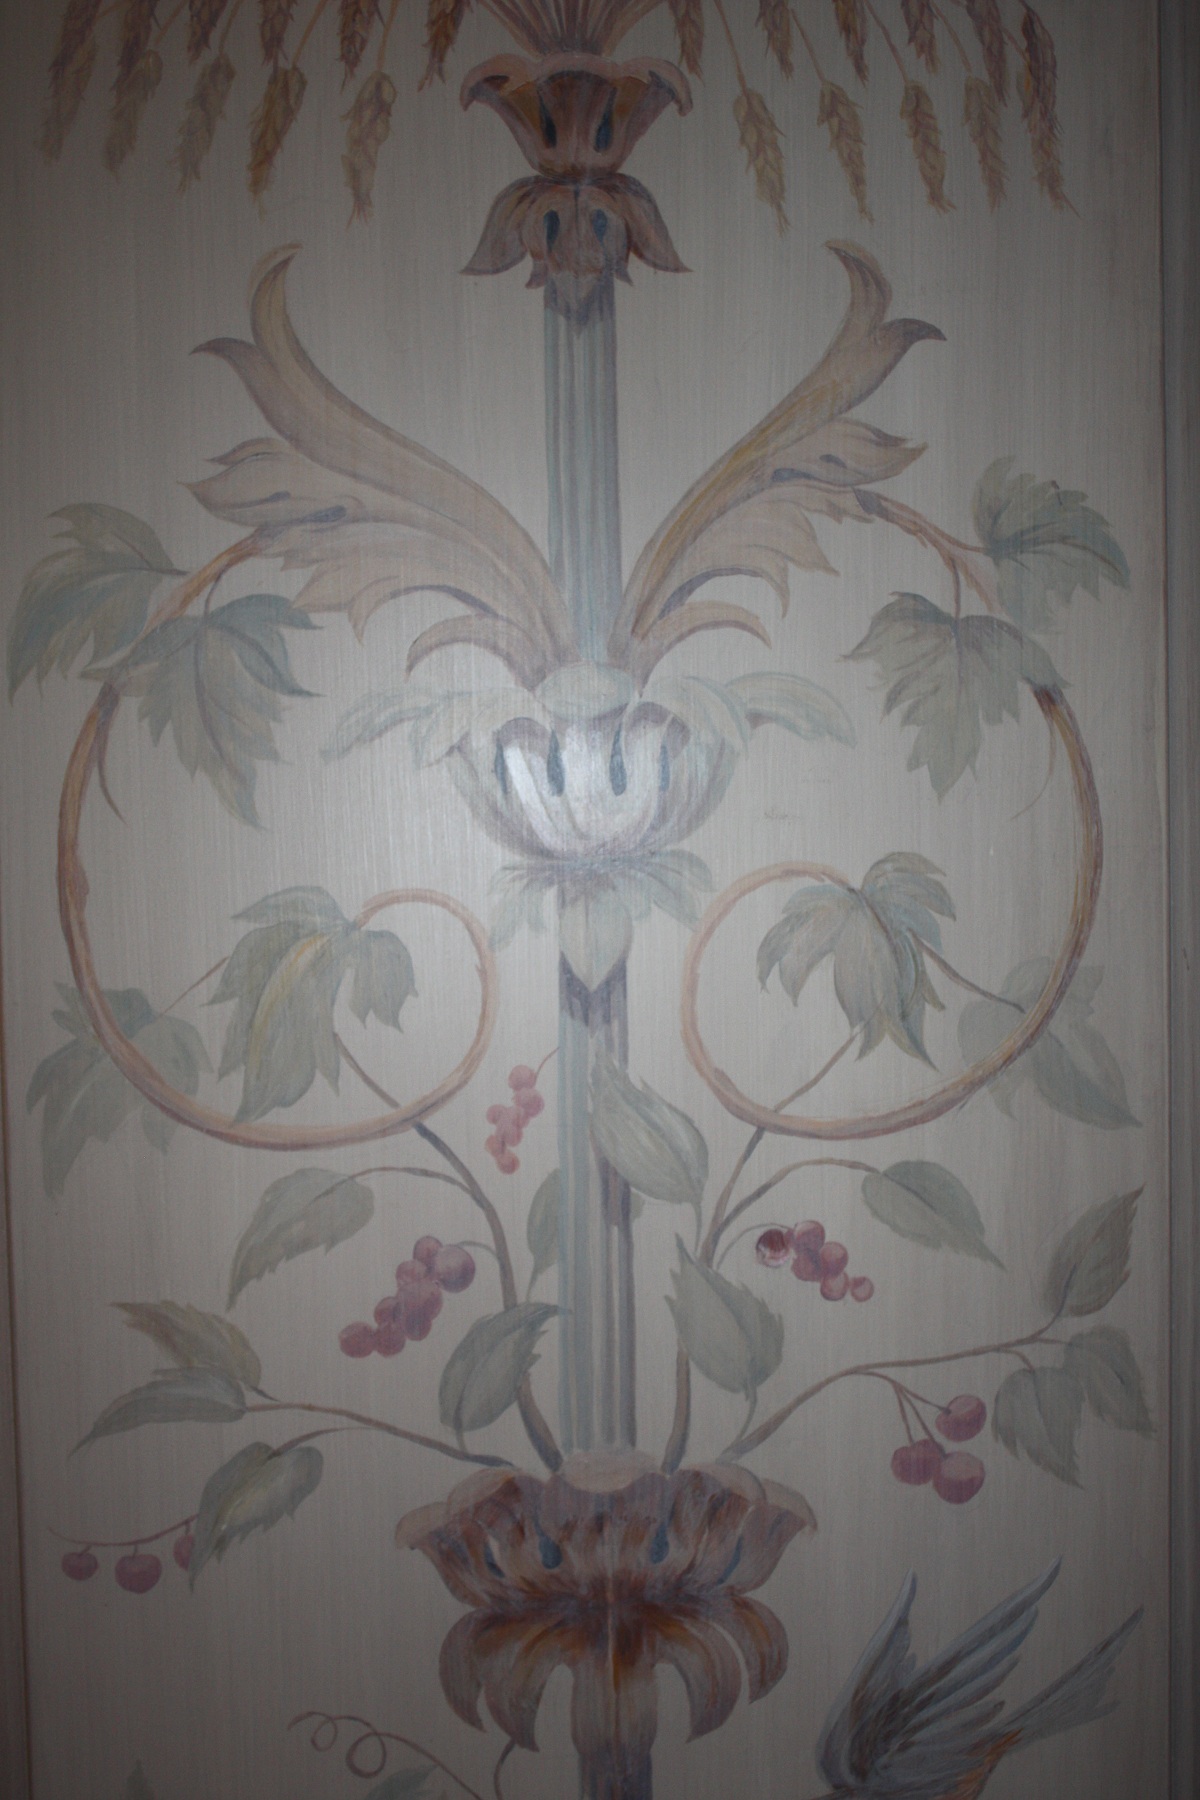
Applying the same treatment to the French design that was on the refrigerator panels, toned down the color, while not taking away the design, cause I still do love it!!! I plan to add more grays into the design at a later date.
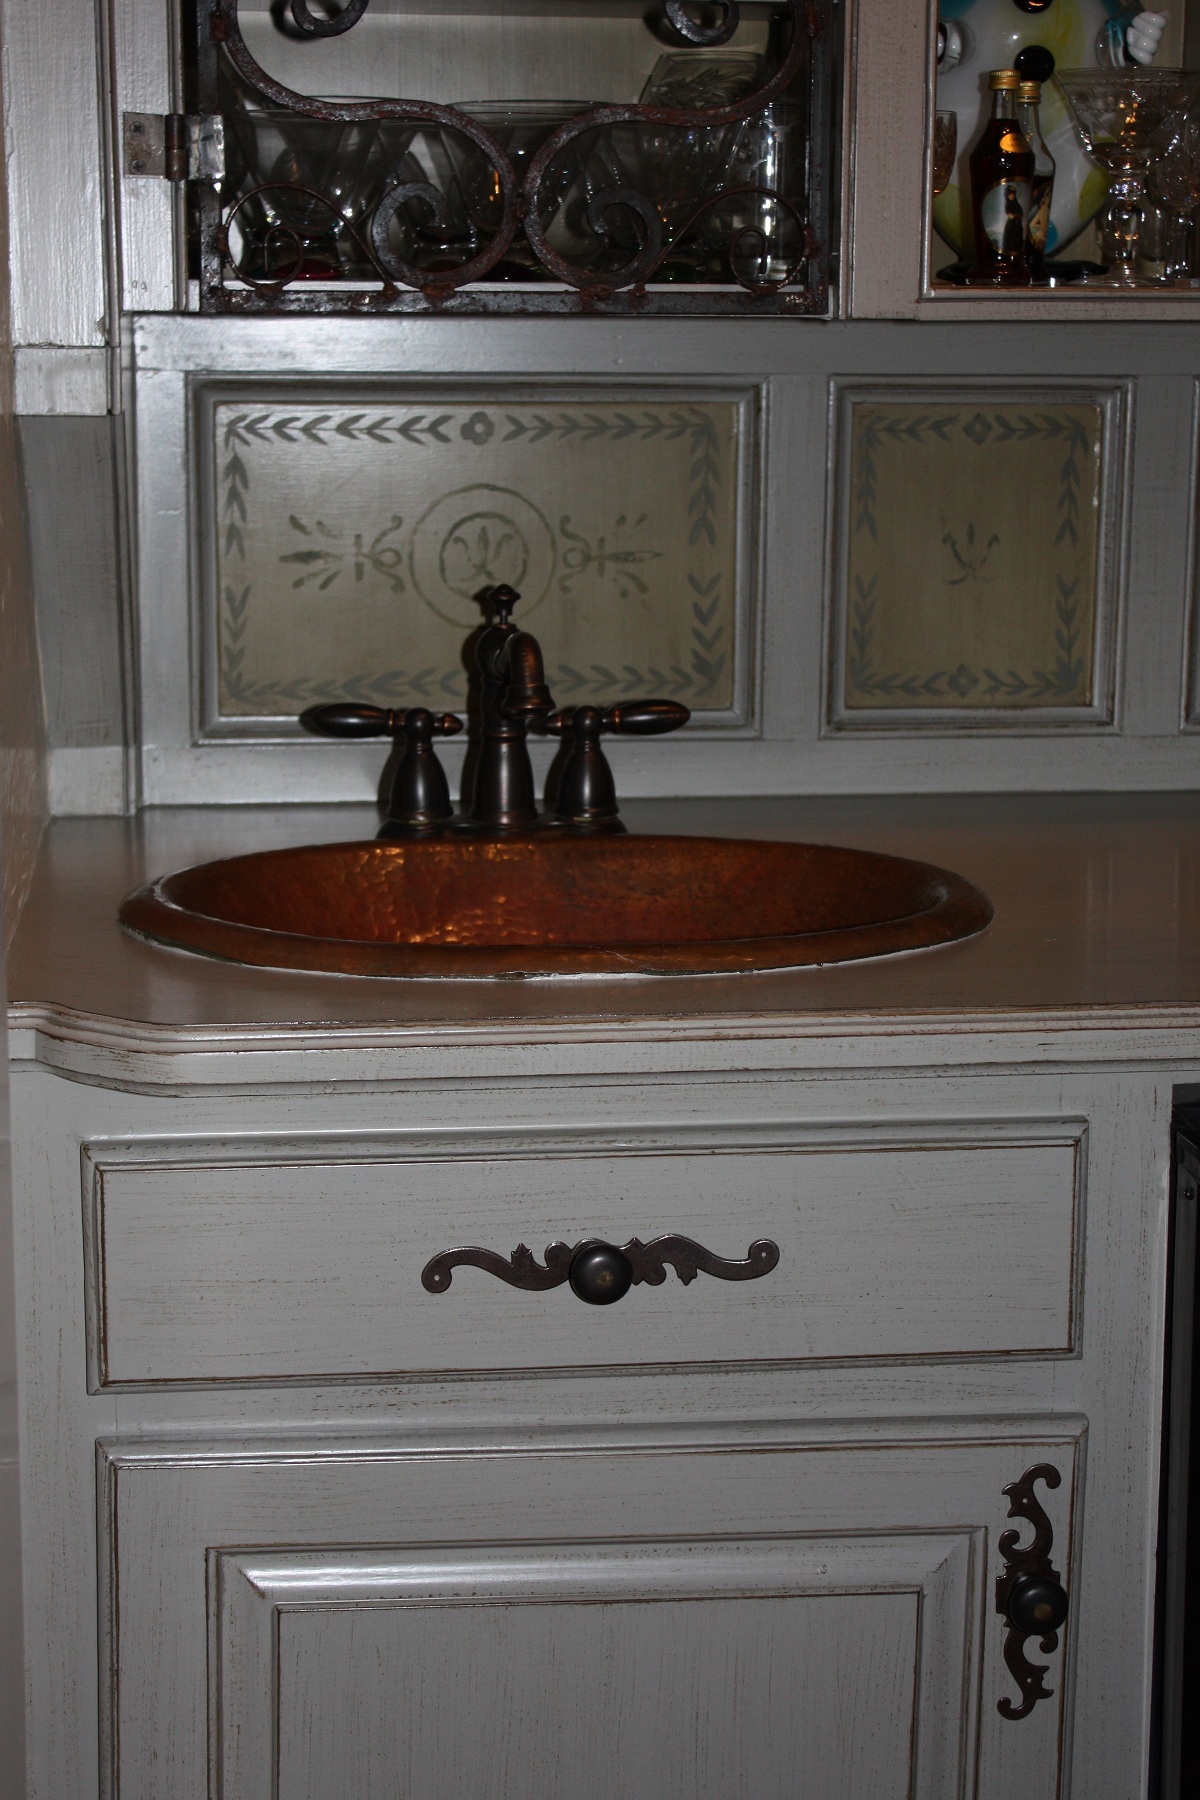
I did end up changing the color of the green kitchen cabinets to SW Dorian Gray. This new color, cooler in tone, detailed with an edging and dry brushing technique, was lovely while still being cost effective since a full glaze wasn’t applied first. Because I want to continue to use a green antique piece that rests in front of the bar, we left the inset designs of the bar in their original color to coordinate with the antique. You can really see the difference here between the old green and the newer color.
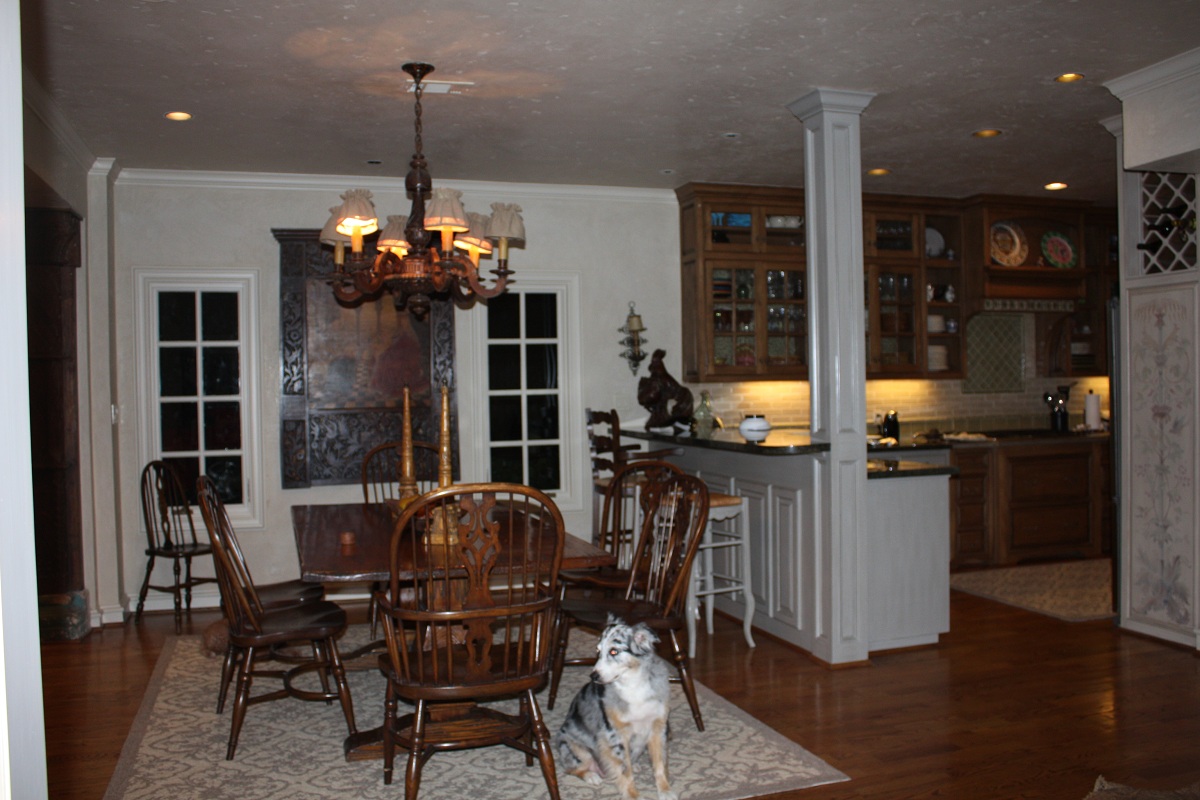
And the finished product of the paint and plaster!!! The Sherwin Williams color Stucco painted on the trim in the kitchen, breakfast and adjoining den area blends in beautifully with the plastered walls. Here’s Chrissy in the new kitchen, happy to have the mess cleaned up. Once I’ve redone the window treatments and recovered the furniture and accessories, I may need paint the green part of the tile backsplash to neutralize it. While I’ve never done this technique due to tile’s durability, what better guinea pig than my own home! I will give it a try and let you know if it lasts. I did purchase these indoor outdoor rugs (which I love the practicality of for high traffic, casual areas) for the kitchen and breakfast area on Rue lala, which is a discount shopping site. I think when I finish everything they will be great.
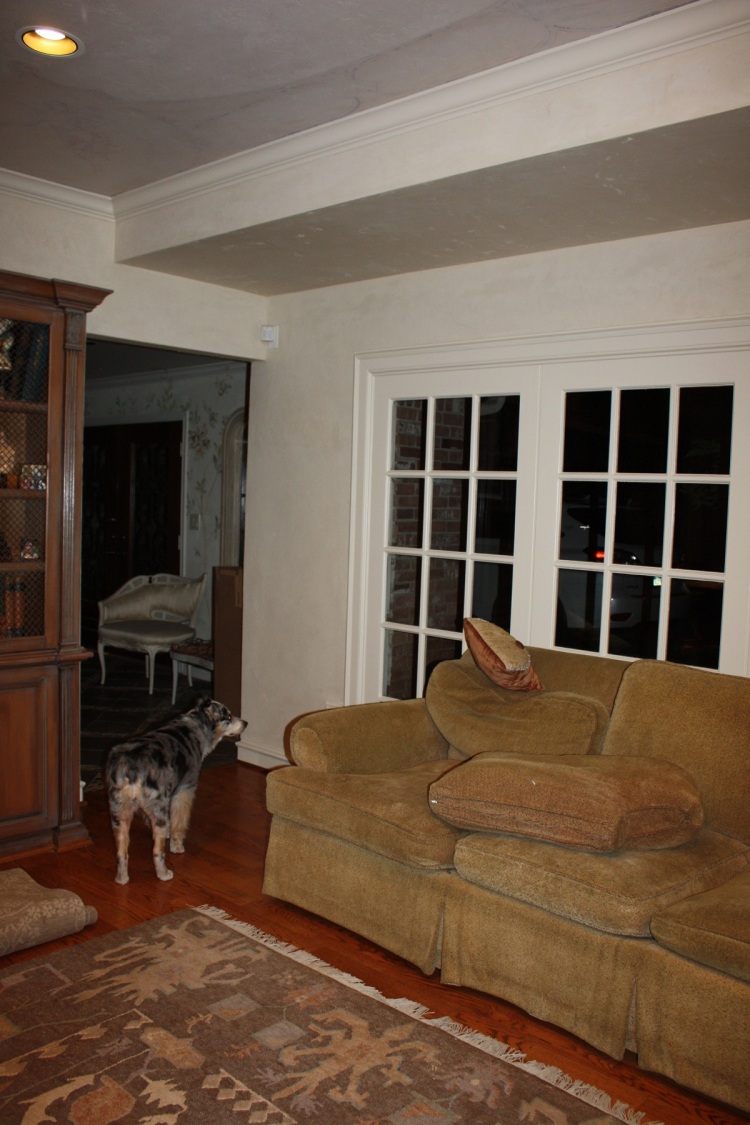
If you look at the top of the photo you can see a bit of the now faded ceiling. Next stop…. new couch, fabric, and rug shopping! Looking at this couch now, I can’t believe we have kept it so long. It’s certainly gotten worn over the last 15 years with three kids, two dogs and a cat. I’m sure my searching will take you to some new places and show you where I decide to save money and where I choose to splurge! Have a wonderful Memorial day and a great week!!
No Comments