Create Your Own Wrapping Paper- Segreto Style!
Hi Friends!! So many of you reached out to me personally on how to create your own wrapping paper. Sorry, this has taken me so long to get together!! I hope you have as much fun creating that one of a kind wrapping as I have in putting this post together!
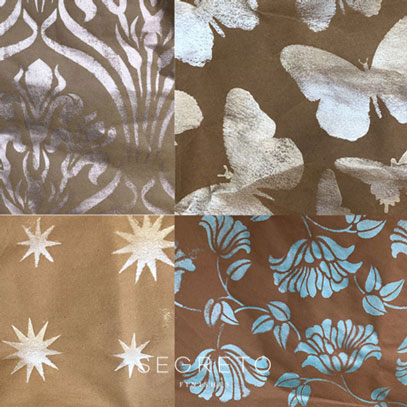
There are so many premade stencils out there to choose from. Small versions can be found at Michael’s but searching all-over stencils will give you large scale ones which will create your masterpieces quickly. Click here, here, and here.
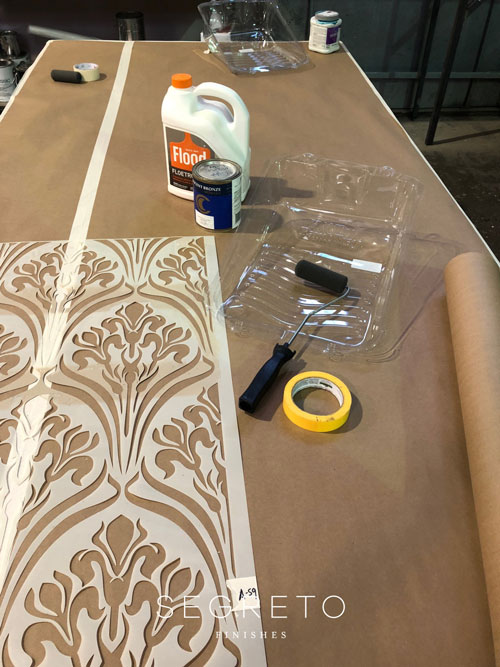
Cover your area with a throw-a-way vinal tablecloth, or some paper. You will need a roller with a foam cover, a tray, tape, stencil of choice, and paint.
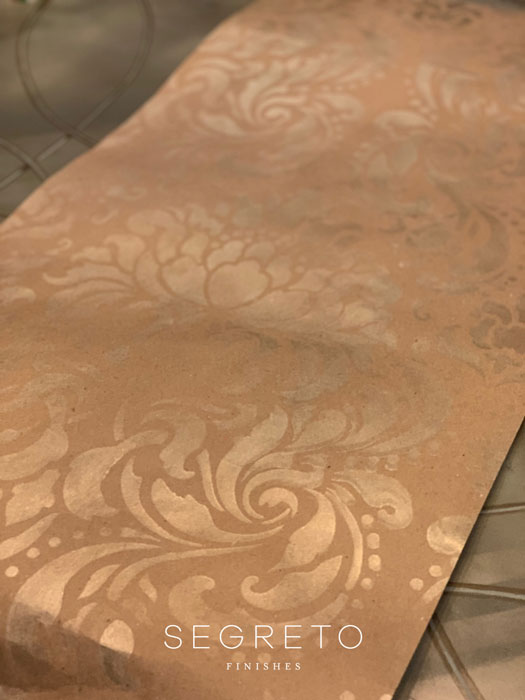
You do not have to thin your paint, but I like to because it gives an inconsistent coverage, and seems to absorb into the paper more like an old fresco would on a plastered wall. I use what we have, so for latex paints I mix it with some Floetrol. This can be purchased at any paint store or Home Depot along with the other materials you need. I love using metallic paints. What a beautiful iridescent quality they lend. I use Modern Masters, which can be found at Hobby Lobby, some paint stores, Walmart and even on Amazon. Mix a bit of Floetrol to your desired transparency.
I like medium to lightweight kraft paper, which we also buy at a paint store. I found this online at Paper Mart. Office Depot has it in white. Just google–I found it at Walmart, Home Depot and more. 24 inches is plenty wide.
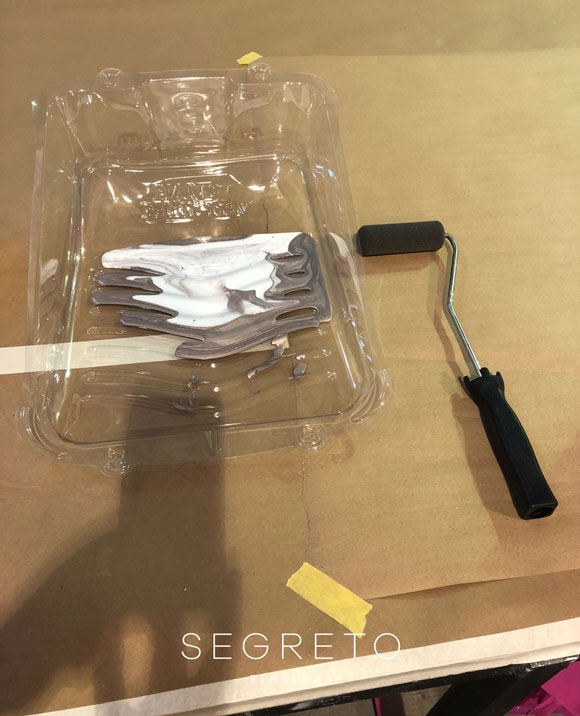
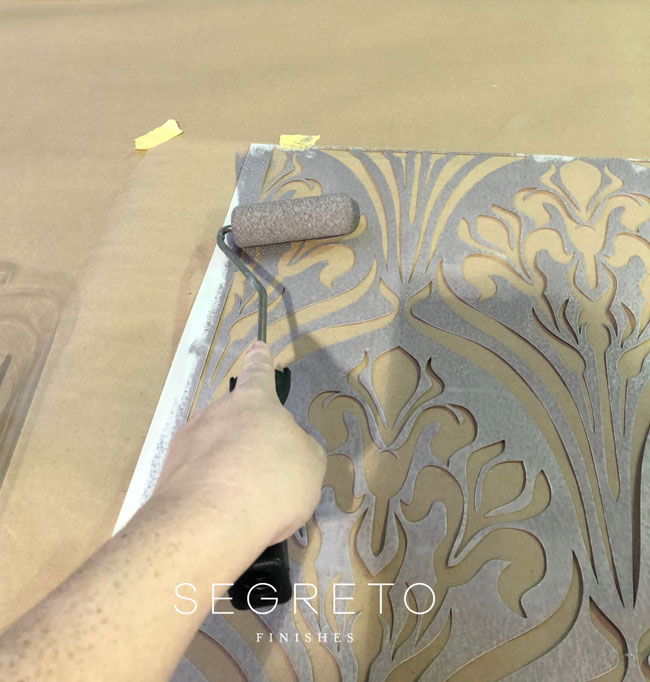
If your stencil is 24 inches wide then you would center over the paper and tape it down. If your stencil is less than that, center it to your paper. You will have to line up the registration marks (small holes on the top and bottom of the stencil) to do either side. Roll your roller into the tray and use the ridges to remove some of the paint. I typically start from the center and work my way out. Be careful not to roll past the edges as you don’t want the paint to get on the sides of your wrapping paper.
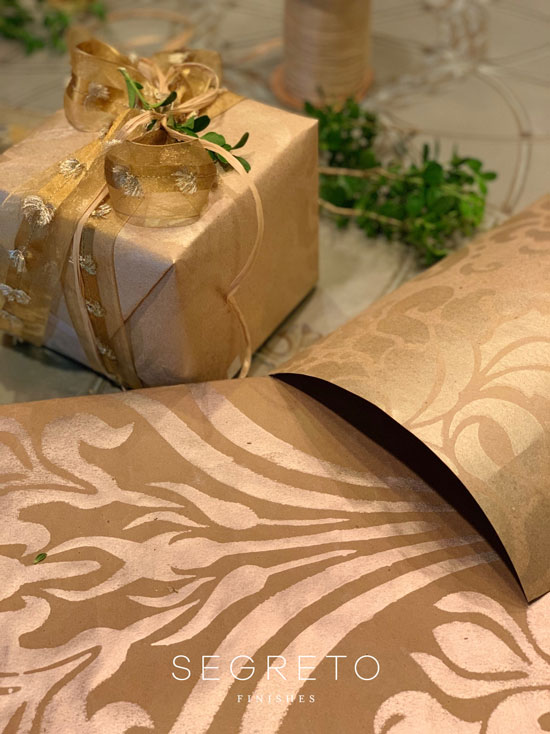
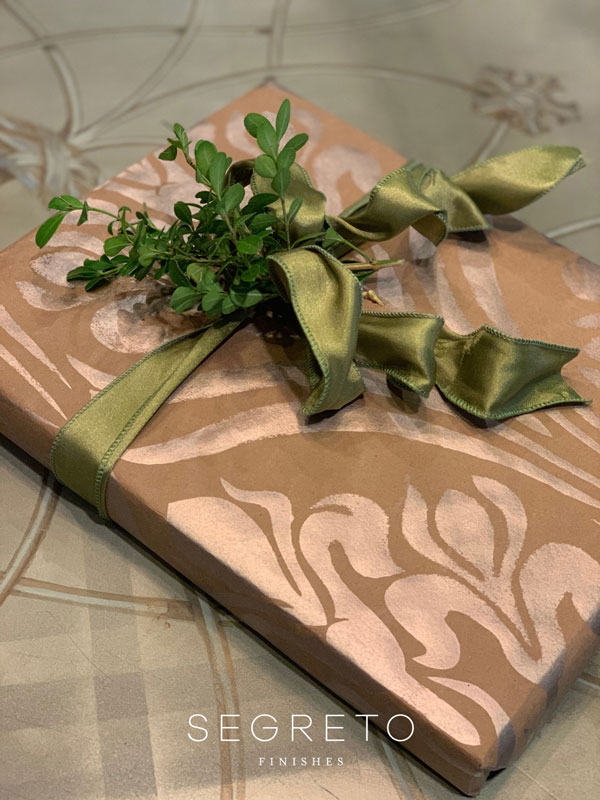
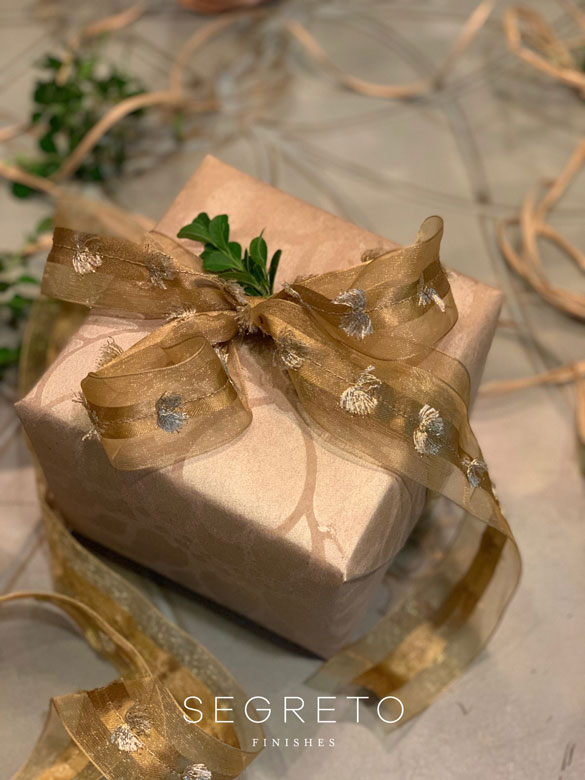
I used Modern Masters Pale Gold on this one. Look how beautiful it looks!
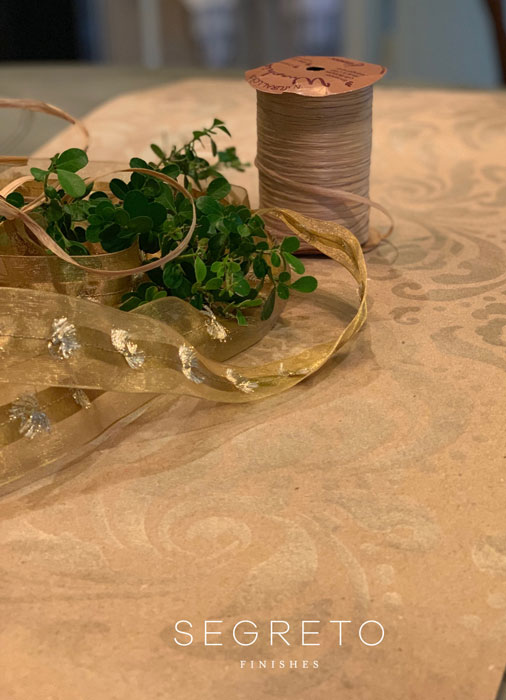
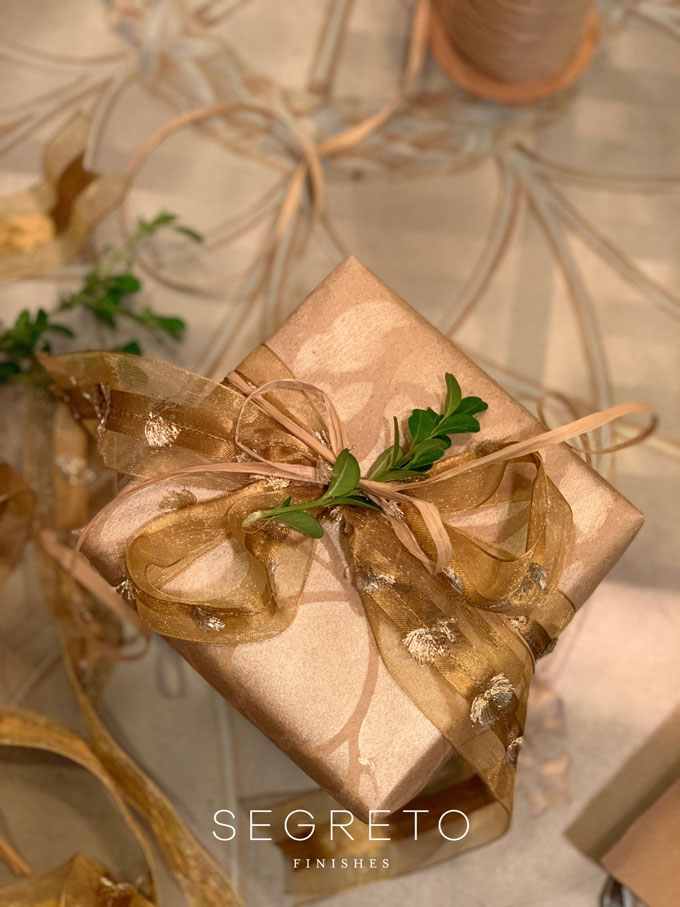
Now you are ready to wrap. I always have lots of materials on hand as I buy ribbons every year from Michael’s after each holiday when they are 80% off–I do love a bargain! Using natural materials like these boxwoods from my yard adds so much in creating something special.
I also like mixing the casual with the ornate. This raffia ribbon is just the touch I wanted.
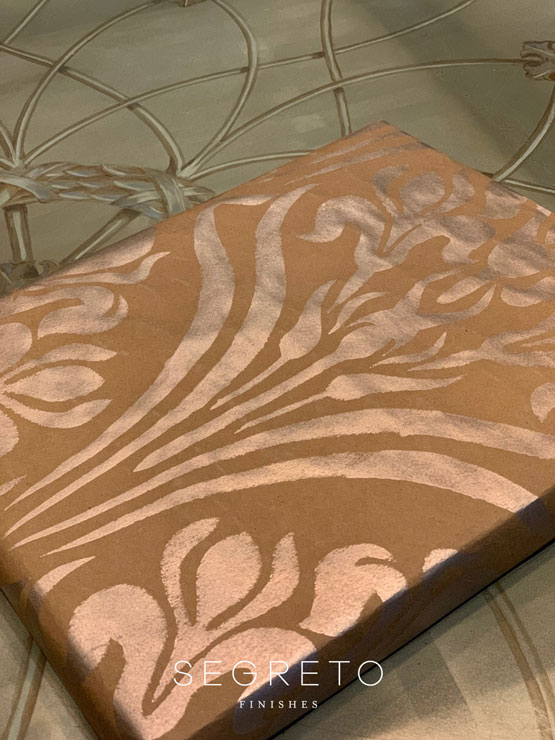
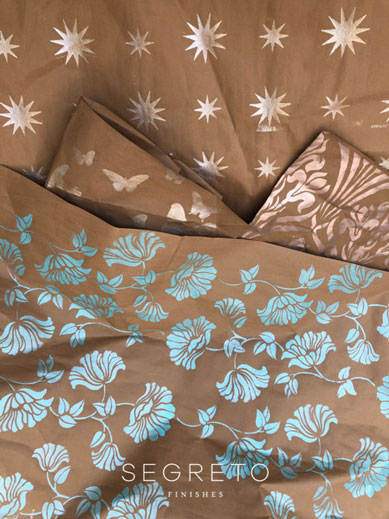
Here’s another fun pattern we had at the warehouse. We did make this on a floor covering kraft paper and learned it was much too heavy and made things difficult to wrap. Stay with a medium paper.
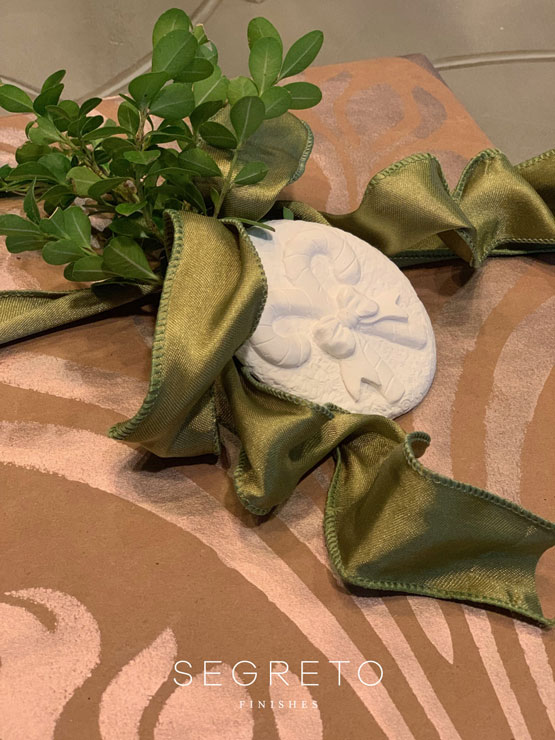
I found a spool of green ribbon-just enough for this package. I do love to use ribbons with the wire in them as the bows turn out so much more interesting.
This creates a gift within a gift. This is an ornament just ready for someone to paint and hang on their tree. Be sure and save things from gifts you receive or look for those fun items when shopping after the holidays for the next year’s wrappings.
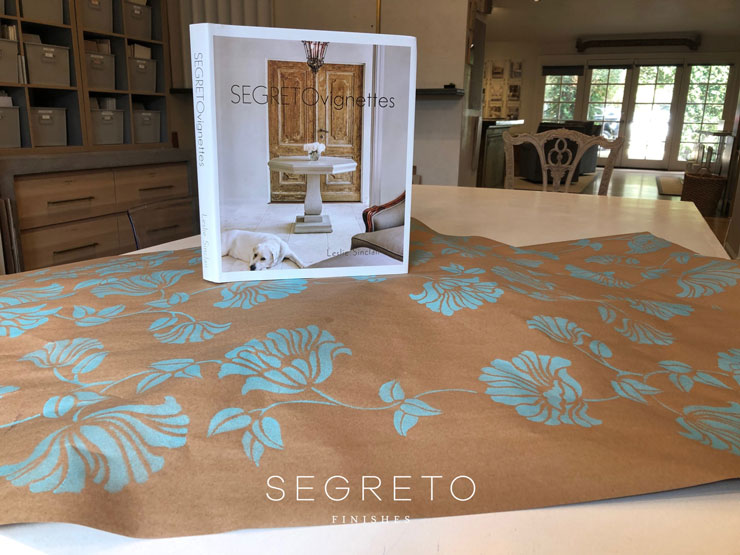
Once we got going we just couldn’t stop!! So many options and combinations to choose from.
What will you wrap up this year for your holiday gifts? I wish I had a new cover to show you! Segreto Impressions will be out and ready to preorder very soon!
I hope you have fun creating your own special wrapping. Your friends and family will love the gift before they even open it. Please email me your pictures of what you have created. Leslie@segretofinishes.com. I know we would all love to see!!
A few more days to go before voting closes. Help us gain the title of best Interior Designer Blog-International. I always appreciate your support. If you could take a moment to vote for us HERE you might just be the deciding vote! Thanks so much! Voting ends September 11th!
Happy wrapping. Till next week! xo Leslie




noreen
Posted at 04:15h, 09 Septemberthank you for the great idea! I love brown paper but this is a a gorgeous way to upgrade my giftwrap.
Leslie Sinclair
Posted at 06:18h, 10 SeptemberHi Noreen! Send me what you come up with!! It will be fun for all to see! Happy wrapping!
Gilda
Posted at 05:54h, 09 SeptemberMartha Stewart did this back in the 90’s on one of her christmas specials..nice to see this again
Leslie Sinclair
Posted at 06:18h, 10 SeptemberHi Gilda! I wish I had seen it! She does so many beautiful things!! Have a wonderful day!!
Kim
Posted at 06:43h, 09 SeptemberThis is beautiful! Do you have sources for the stencils? Especially the first one. Thanks!
Frances
Posted at 10:44h, 09 SeptemberThree stencil sources are linked in the article.
Thank you for sharing this useful information.
Leslie Sinclair
Posted at 06:17h, 10 SeptemberHi Frances!! I hope you have fun with the project! Best to you!!
Kim
Posted at 17:17h, 15 SeptemberSources are listed, one doesn’t work and there are hundreds of stencils. Was trying to find two specific items but I do appreciate you trying to help 🙂
Luisa Patterson
Posted at 11:37h, 09 SeptemberI love this Idea 🙂
Gracias Amiga 🙂
Leslie Sinclair
Posted at 06:16h, 10 SeptemberHi Luisa! I can’t wait to see what you, creative friend, comes up with!! xo
Anne Tone
Posted at 15:23h, 10 SeptemberThank you for posting the instructions for the handmade wrapping paper…it is lovely!
My mind is spinning trying to decide on designs and hope to create personalized papers and ribbons to give to friends as gifts. Now, need to come up with a special way to “present” the present! Thank you so much!
Leslie Sinclair
Posted at 05:19h, 13 SeptemberHi Anne!! Yes I am working on the present! Please send me your all wrapped gifts!! Have a great day!
Anne
Posted at 11:40h, 11 SeptemberThank you for posting these directions…can’t wait to personalize designs for friends and family!
Have a great day!
Leslie Sinclair
Posted at 05:18h, 13 SeptemberHi Anne! Please send me what you do! I would love to see. I know the packages will be beautiful!!
Colleen Martin
Posted at 15:37h, 14 DecemberHow do you keep the paint from going under the stencil when using a roller? I cannot get crisp edges.